3T has received a usability update for organisations that are brand new to version 2. Named ‘Clean Slate’ because a brand new organisation will have no data in it on creation (excluding the hybrid user who will be created by the relevant Sales Rep).
The update will help Sales Reps more easily onboard all new customers by giving them clear direction on what they need to do while also showing them how to add further information in the future. This should result in fewer queries to Sales Reps and 3T Support.
Please note that we recommend the first user a Sales Rep creates in the new organisation be a hybrid user – a user that has access to both the portal and the app – regardless of whether they are going to be completing disinfection cycles in the future, or not.
The video version of these release notes can be found here.
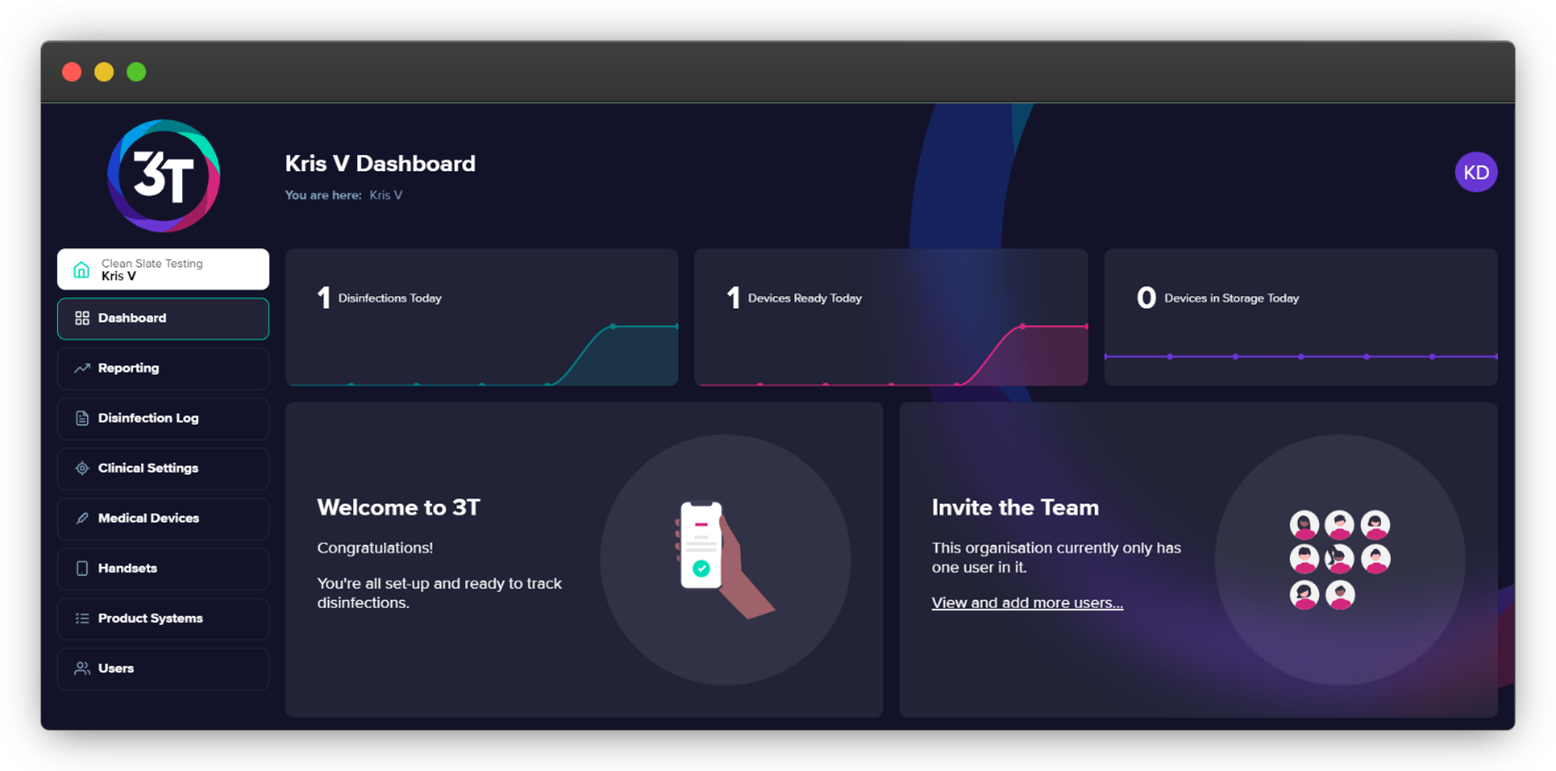
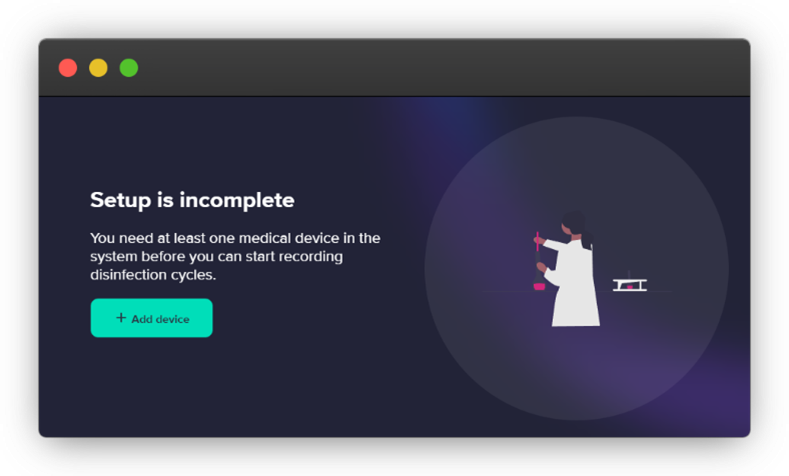
When landing on the dashboard of an organisation, 3T will check whether it has any completed disinfection logs. If at least one disinfection log has been recorded, the standard dashboard will be shown. If the organisation has no disinfection logs, the user will be shown a welcome message and a checklist with what they need to do to become a fully functional organisation.
If they don’t have any clinical settings, they will be advised to add at least one. If they have at least one clinical setting but no medical devices, they will be advised to add a medical device, and so on...
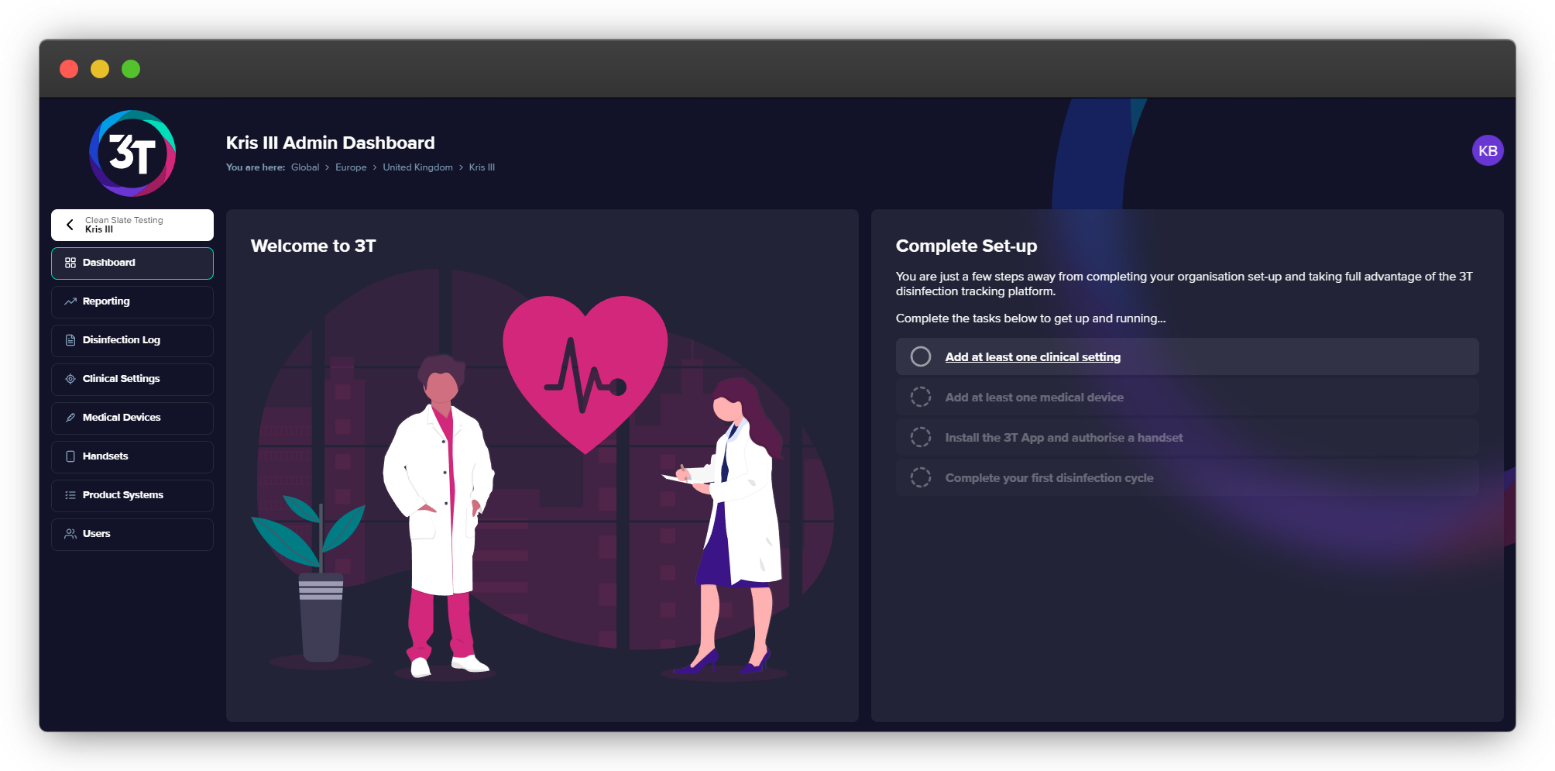
The organisation in the above screenshot has at least one clinical setting, medical device and authorised handset, so it shows the user they have completed the first three steps and are ready to complete their first disinfection cycle.
The same logic will apply to list views for clinical settings, medical devices, handsets and disinfection logs. 3T will check to see if the organisation has at least one of each when landing on the list view. For example, if there are no medical devices in an organisation, it will replace the empty table with either a button to create a medical device, or a link to the step they must complete before creating a medical device.
The rest of these release notes will tell you what to expect in any given scenario.
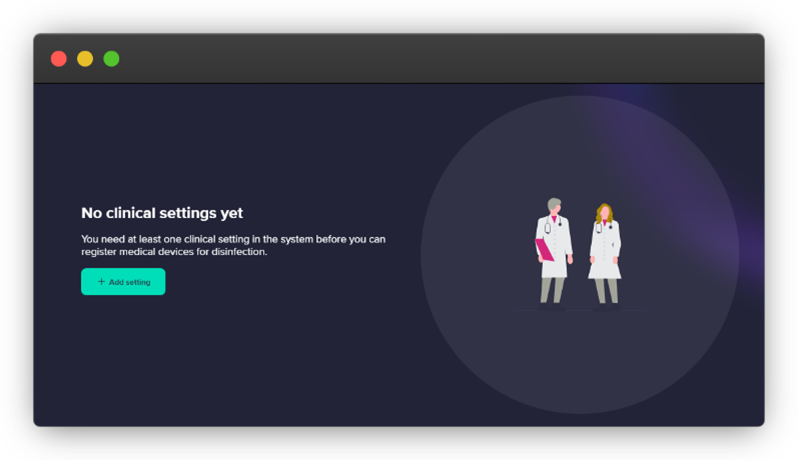
If there are no clinical settings in an organisation, no sections of the checklist will show as complete.
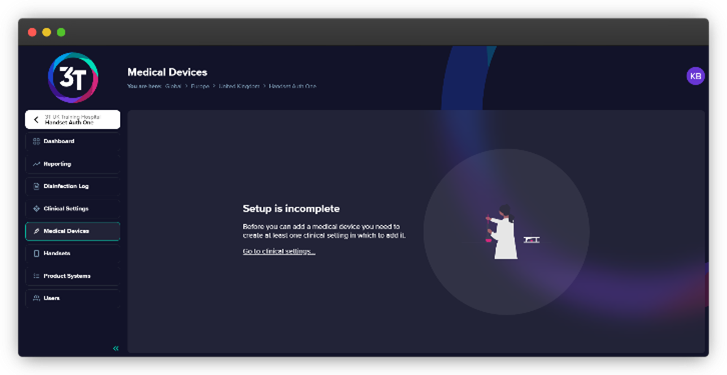
Users may click on the ‘Add at least one clinical setting’ link in the checklist or the Clinical Settings button on the left-hand menu to be taken to the clinical settings list view (below left).
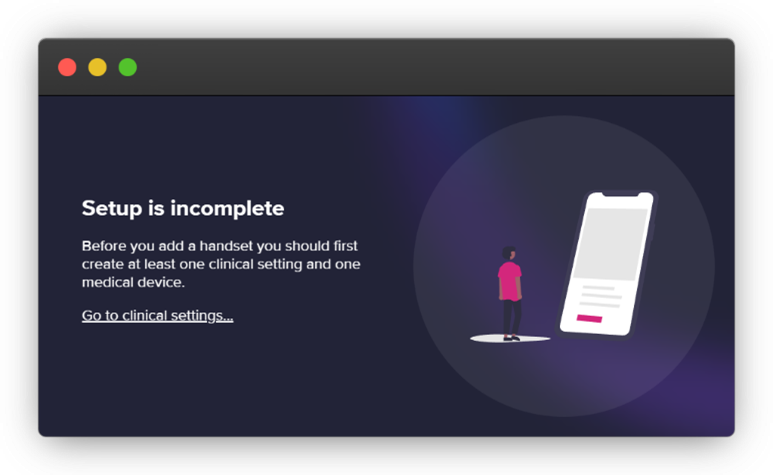
As this is the first step, if the user navigates to the medical devices, handsets or disinfection log pages, they will all funnel the user back to clinical settings in the same way (above right).
Once a clinical setting has been added, a notification will appear at the bottom of the screen to prompt the user to either add more clinical settings, or to click on medical devices to continue.
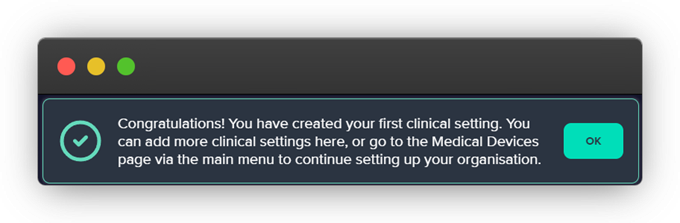
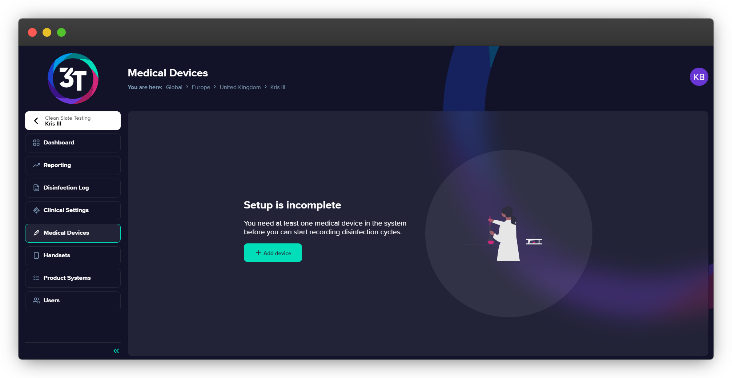
Once a clinical setting has been added, the clinical setting list view becomes available and users will be funnelled toward creating a medical device.
As per the clinical settings view, once a medical device has been added, the user will be shown a notification letting them know they can either add more medical devices on this page, or click on the Handsets button to continue.

Once a medical device has been added, the medical devices list view becomes available and users will be funnelled toward downloading the app and authorising a handset against their organisation.
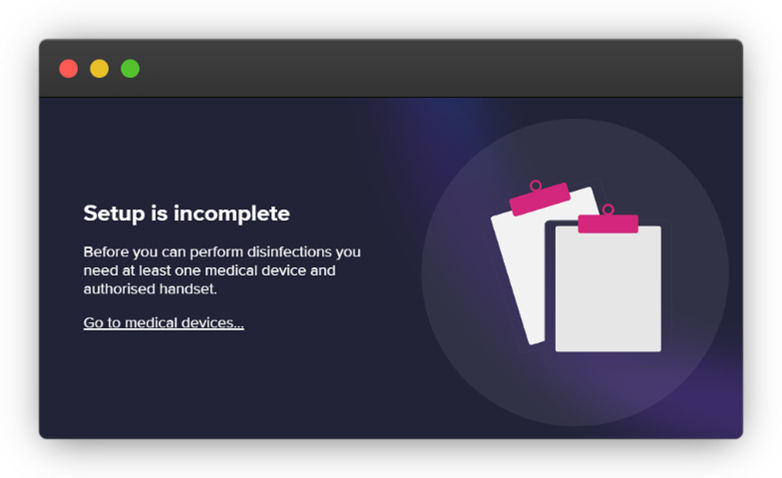
Downloading the app and registering a handset cannot be done in the portal – it must be done using the relevant handset – but the portal can be used here to give the user helpful information along the way. When navigating to the handsets tab, either via the tab itself or the checklist prompt, the user will see the following screen.
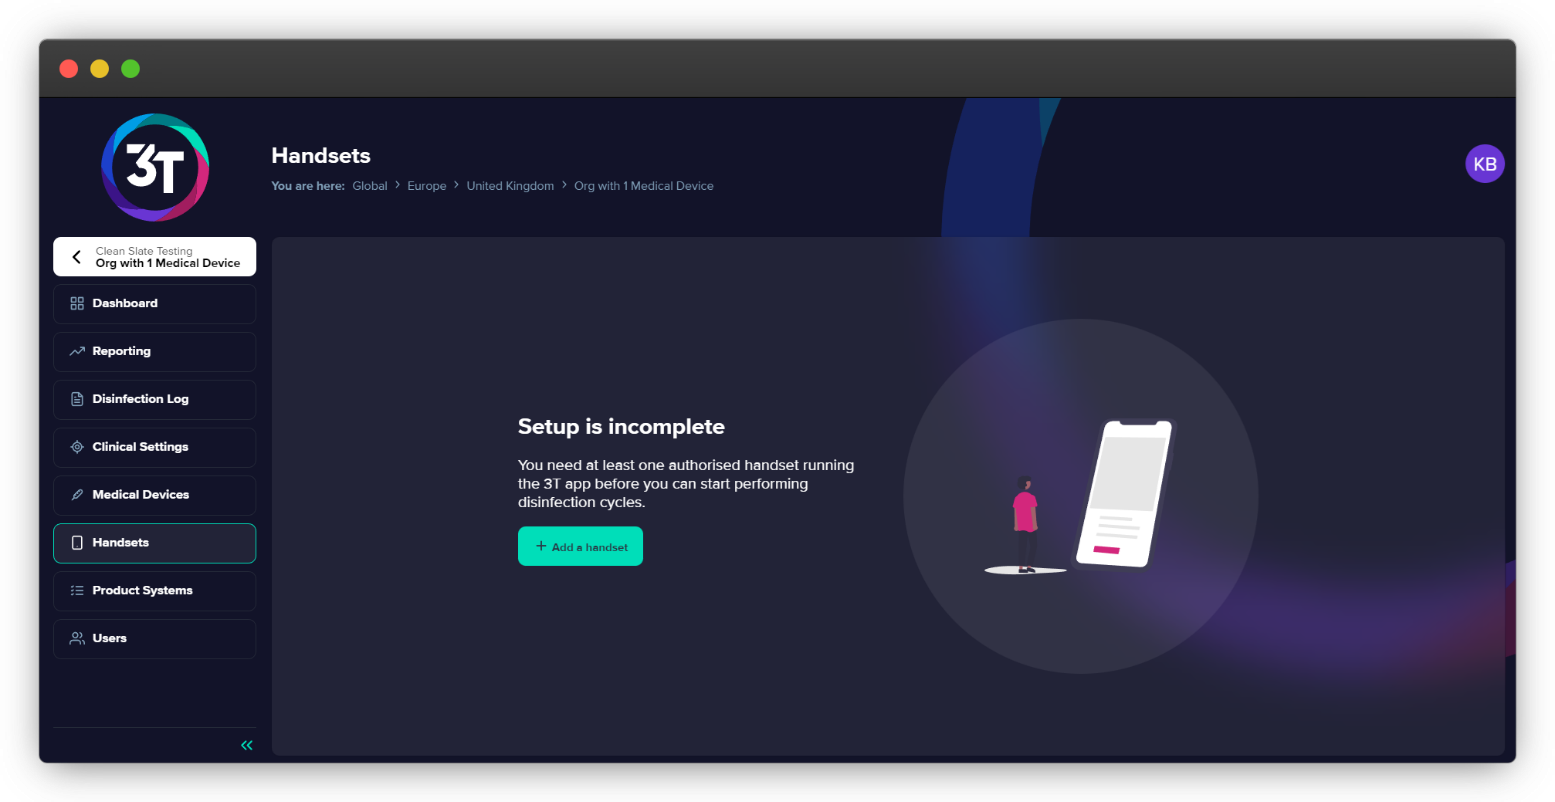
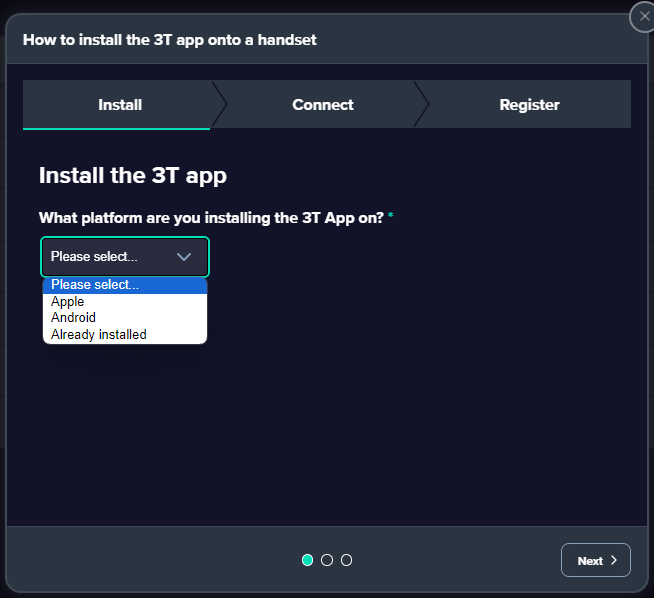
Clicking on the highlighted button will show the user a modal that will guide them through how to download the app, scan their organisation code, name their handset and will look out for incoming authorisation requests.
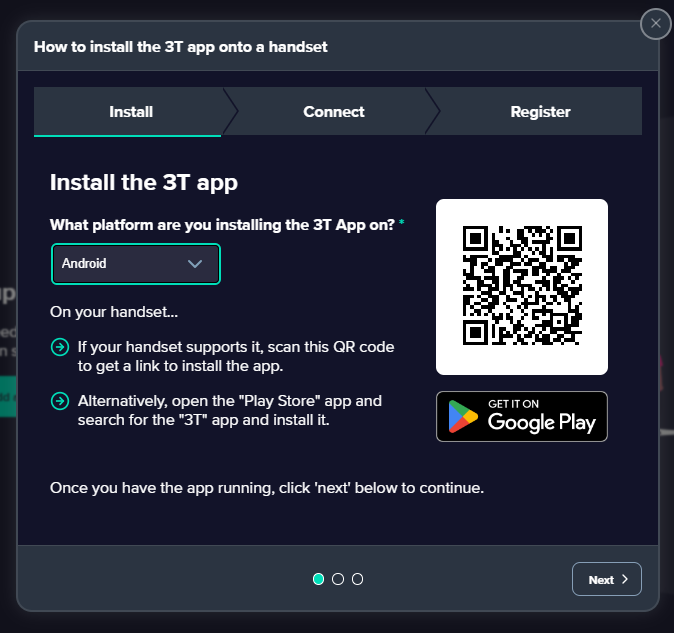
The screenshot below shows the first section of the modal, which gives the user the QR code to take them directly to the Google Play Store to download the app. Please note that the app is only available on Android at this moment in time, but this section will be updated when the app becomes available on the Apple Store.
At this point, the user should download the app on their handset and click on the ‘Next’ button in the portal to continue.
After downloading, installing and opening the app, the user will be asked to scan their Org ID to continue. We supply both the QR code and the alphabetical code on the next section.

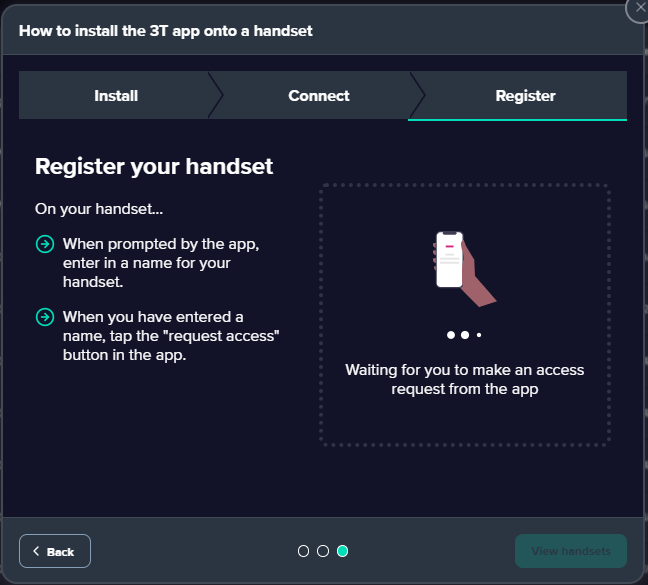
On scanning the Org ID, the user should click ‘Next’ on the modal in the portal. On the app, they will be asked to register their handset for use with their organisation. The portal will continually scan 3T for an authorisation request (Image A) and will let the user know when it has received a request (Image B).
(Image A)
(Image B)
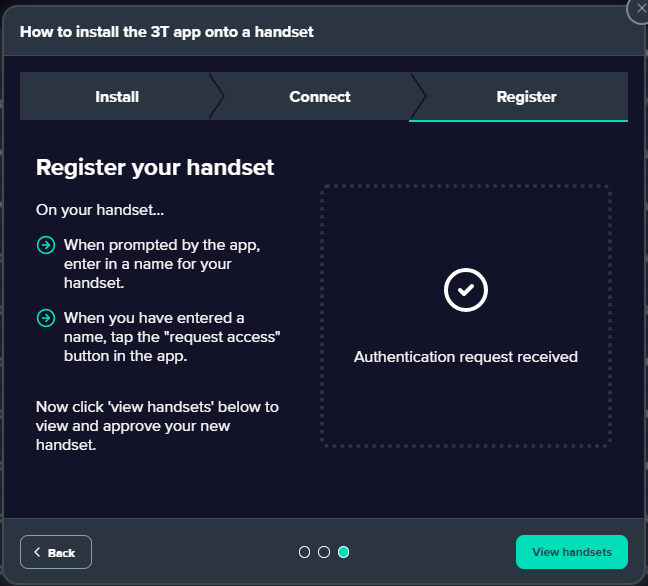
The portal will let the user know that they are ready to authorise their first handset and to close the modal. Once the modal is closed, the previous clean slate page will be replaced with the handset list table.
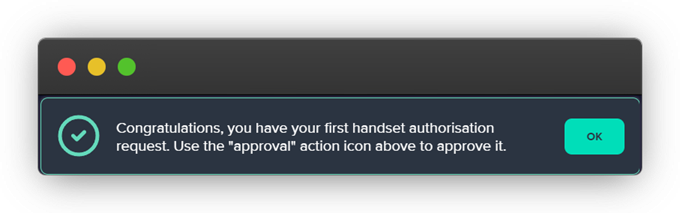
A notification at the bottom of the page will let the user know they need to authorise the handset to continue.
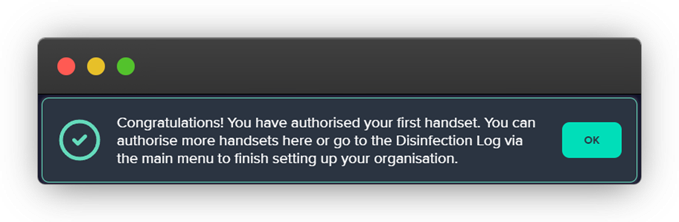
Once authorised, a further notification will be shown to let the user know they can authorise more handsets on this page, or to click on the Disinfection Logs button to continue.
If you’re unclear on how handset authorisation works, you can view the full release notes here.
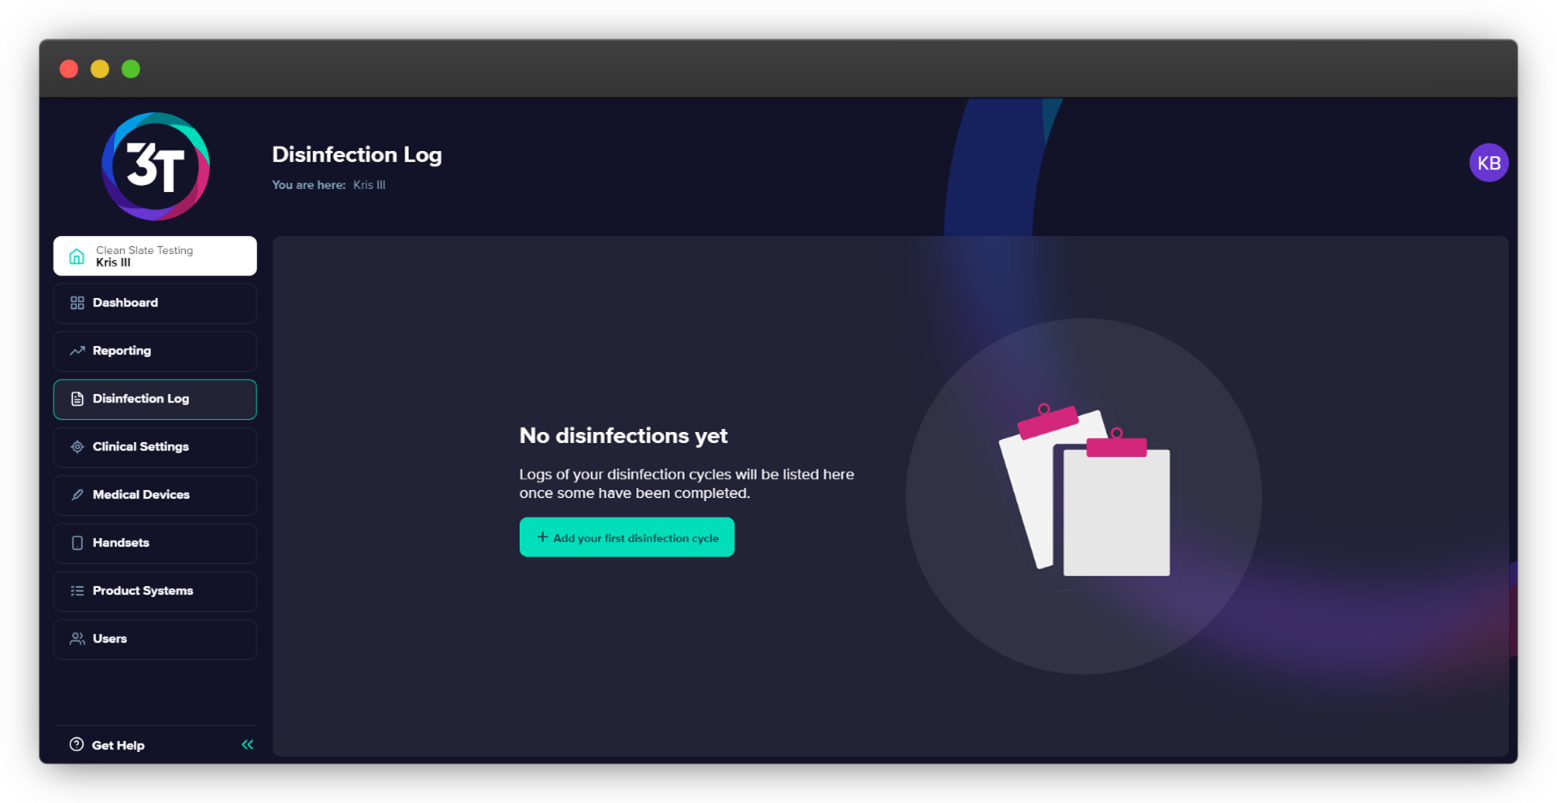
At this point, an organisation has everything it needs to start completing disinfection cycles, but the portal will still show the user how to do this if one hasn’t been recorded yet. The disinfection log will show the same style clean slate as other areas of the portal.
It is important to note here that there are three possible scenarios for the user and the organisation.
The first user was correctly created as a hybrid, so has access to the portal and the app:
In this scenario, the hybrid user will see the screen represented on the next page of these notes when accessing the disinfection log page, and can complete the disinfection cycle as intended
The first user was incorrectly created as a portal user only and there are no other users in the organisation
In this scenario, the portal user will not be able to continue with the guide in the portal as they have no app access. They will need to create either an app user or a hybrid user, who will need to complete the disinfection cycle without guidance from the portal
The first user was incorrectly created as a portal user only and there is another user in the organisation with app access
This scenario is very similar to the previous one. The portal user will not be able to proceed and the app user will need to complete a disinfection cycle without guidance from the app.
The exception to this is if the second user is a hybrid user themselves, in which case, they will pick up where the first user left off, and continue with the first scenario
The above scenarios are a bit complicated, which is why it is important to create the first user of any organisation as a hybrid user.
As per the handset auth section, disinfection cycles cannot be completed in the portal, but we can give the users some pointers on how to get started, most helpfully, giving the current user a QR code for their Staff ID and their PIN.
To kick the process off, users should click on the highlighted button when they land on the disinfection log page. As explained above, if the user doesn’t have access to the app, but someone else on the organisation does, they won’t see a button here.
If they don’t have app access and no one else does, they will be prompted to add a new user.
The modal that opens will give the user the QR code version of their organisation ID, the alphabetical code for the organisation ID and the user’s PIN.
This is all the information they will need to get access to the app on their authorised handset.
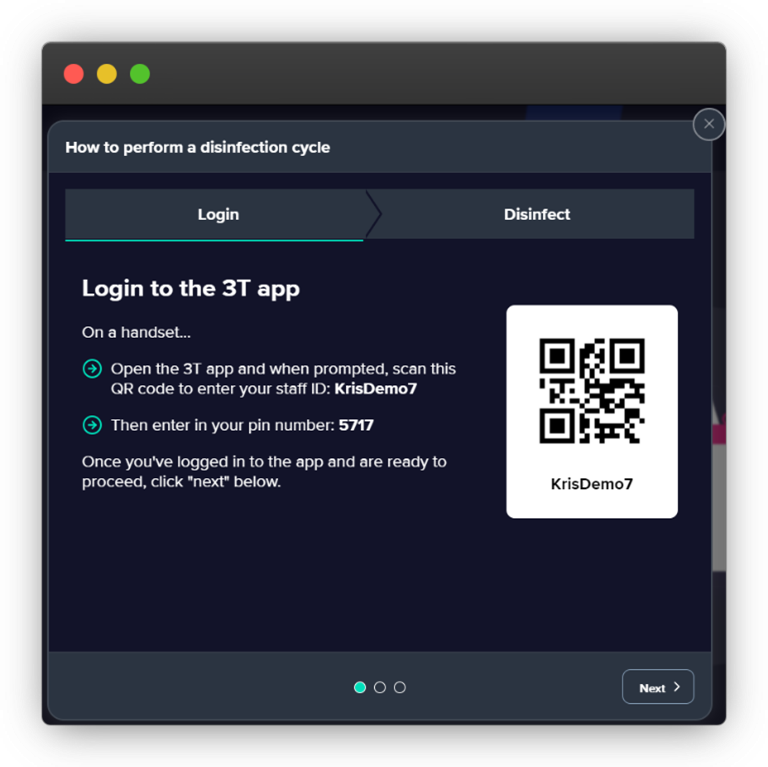
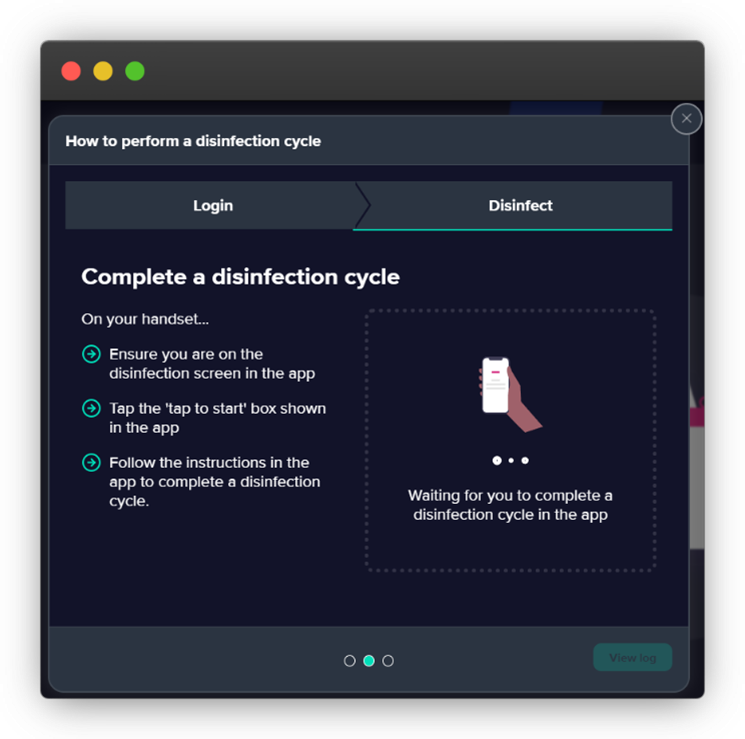
Once the user has logged in to the app, they should click ‘Next’ on the modal in the portal, then follow the usual disinfection process on the app. Similarly to the handset authorisation section, the portal will continually scan for a completed disinfection cycle.
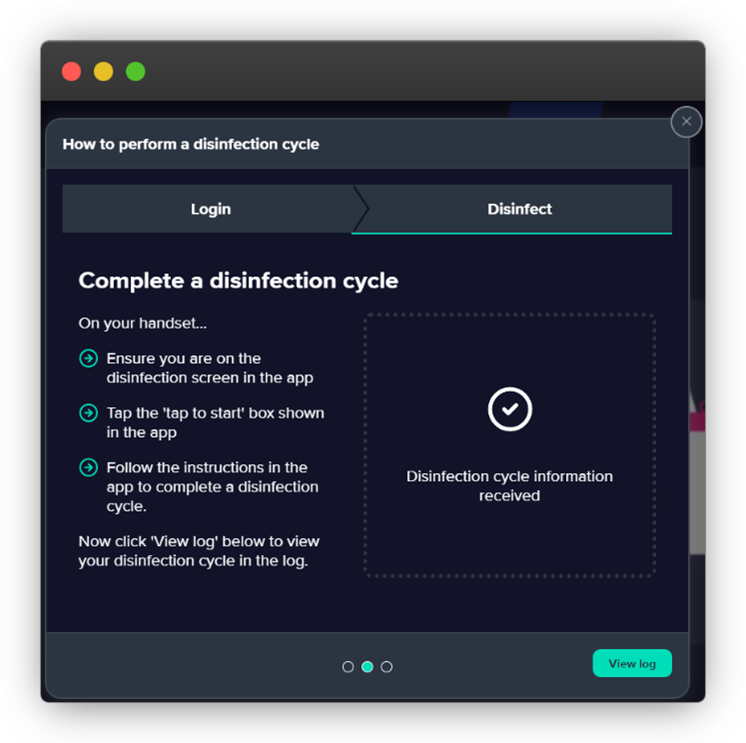
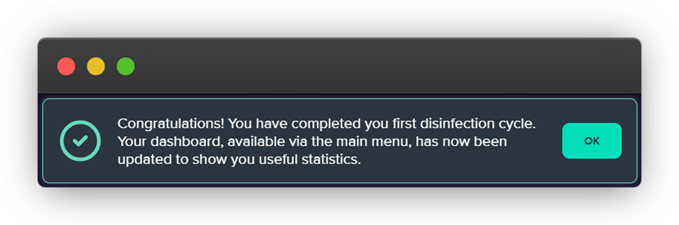
Once a disinfection cycle has been recorded, the modal will update and give the user directions to close the modal and view the log.
A final notification will be shown to the user at the bottom of the screen, congratulating them for successfully setting up their organisation and prompting them to return to the dashboard so they can see their updated dashboard view.
If the user was set up correctly as a hybrid and has followed all the onboarding steps, they will have at least one clinical setting, medical device, handset and disinfection cycle. The new dashboard will prompt them to add more users to their organisation if they haven’t done so already, but will stop doing this once they have added at least one more user with app access.